# Security settings
This section describes the mandatory security measures the exchange owner must perform immediately after installing Lara on the server, as well as recommendations for further protection of the account, admin panel, and server.
## **Brief sequence of actions for the user**
1. Log in via the unique link and **change the administrator password**.
2. Configure **SMTP provider** (email).
3. Enable **two-factor authentication** (2FA via email).
4. Configure **VPN**.
5. Add the IP address of your VPN to:
* the admin panel whitelist,
* Cloudflare rules.
6. Configure roles (if you plan to add staff).
7. Regularly check the operation log.
8. Perform minimal server protection.
### **1. Unique admin panel link and initial authorization**
After installation via the auto-installer the user receives:
* **a unique admin panel URL**,
* **administrator login and password**, generated by the system.
These details are displayed in the console after installation. Copy and save the link to the site's administrative panel, the email, and the login password. After that you can open your site in a browser.
**Important:**
* The unique URL must be **saved**, not shared with third parties.
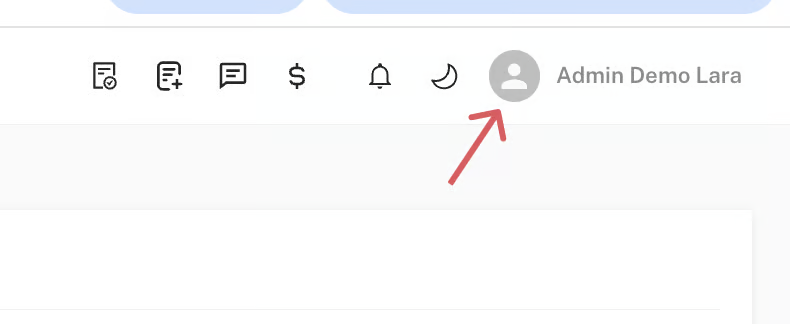
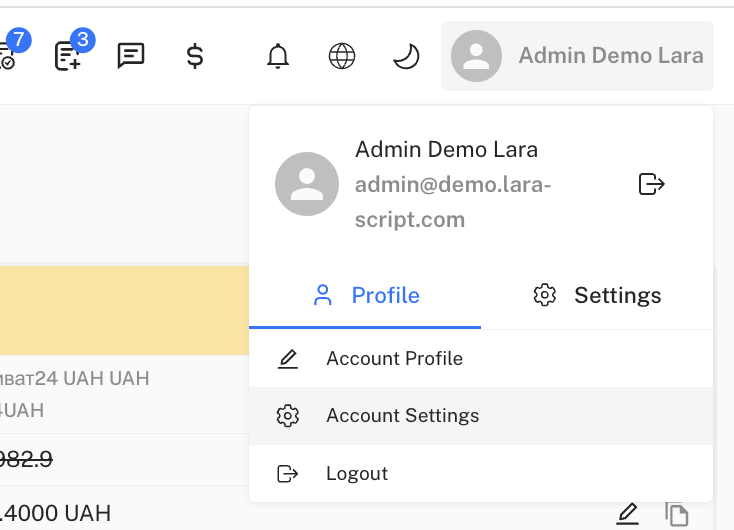
* After the first login you must **be sure to change the administrator password,** in the upper right corner by clicking on your profile - Account Settings - Change Password.
Follow the instructions described on the password change page, also described in [**this section of the documentation.** ](https://lara-script.gitbook.io/docs/admin-panel-functionality/profile/change-password)\
If you also wish to change the admin panel URL - this cannot be done by yourself, you must contact support.
### **2. Setting up an email provider (SMTP)**
For security functions to work, particularly two-factor authentication, you need to set up an SMTP provider in advance. This is a protocol (set of rules) used to send email from one mail server to another. It is responsible for automatic delivery of messages and confirming their delivery. In simple terms — we will configure the mail that is used for automatic notifications to the administrator and clients about the status of their requests and other notifications, such as password changes, registration confirmations, and mailings. For this to work, you need to fill in several fields in the settings.
Procedure:
1. Open the mail settings in the admin panel. \
Go to Settings - SMTP Settings in the admin panel. You can find out what each field is responsible for in [**this section of the documentation.**](https://lara-script.gitbook.io/docs/admin-panel-functionality/settings/smtp-settings)
2. Fill in the SMTP server details. A detailed example of configuring and obtaining SMTP server data can be found [**in this section of the documentation.**](https://lara-script.gitbook.io/docs/admin-panel-functionality/settings/smtp-settings/smtp-service-settings) Here is a step-by-step instruction with examples of configuring two SMTP services.
3. Save the changes.
**Note:** At the business logic level the system **will not allow enabling two-factor authentication**until SMTP is configured.
### **3. Two-factor authentication (2FA via email)**
Currently in LARA-Script two-factor authentication works only via email.\
When attempting to log in the system sends a long confirmation code to the configured administrator email.
To enable 2FA:
1. First configure SMTP **(see section above)**.
2. Then enable two-factor authentication in the administrator profile.\
Section Administrator Settings - Admin Panel Two-Factor Authentication. Find the "Two-Factor Authentication" option and toggle the "Enable" switch. \
You can read more about the section [**in this section of the documentation.**](https://lara-script.gitbook.io/docs/admin-panel-functionality/administrator-settings/two-factor-authentication)
Now at each authorization after entering the login and password the system will send a one-time code to your email. Only after entering this code will you be able to access the account.
### **4. IP Whitelist**
The admin panel has a built-in mechanism for restricting access by IP addresses.\
This is an additional layer of protection at the code level. In other words, even if someone obtains your login and password, they will not be able to authorize if they attempt to log in from an IP address not permitted by you.
It is recommended to add:
* your personal IP,
* employees' (operators') IP addresses,
* VPN IP addresses if access is through a VPN.
You need to go to the adjacent section Administrator - IP Whitelist, click the "+Add" button to enter the specific IP address and a comment, for example the current VPN address of one of your employees.\
You can learn more about configuring the IP Whitelist [**in this section of the documentation.**](https://lara-script.gitbook.io/docs/admin-panel-functionality/administrator-settings/ip-whitelist)
#### **Recommendations for VPN**
We recommend:
* purchasing a ready-made VPN or setting up your own,
* using only trusted providers,
* if necessary - contact our support, which will suggest suitable services.
After configuring the VPN add **your VPN IP** to the whitelist for stable secure access.
### **5. Role settings**
The system provides distribution of user permissions among different roles. To do this, go to the page that is the key center for access management, which allows you to quickly form a team, control access levels, and ensure the security of the administrative part of the project; this is extremely convenient if several people work on your team and you want to grant some of them special accesses to the admin panel.
To configure a role:
* Go to Administrator - Administrators, and [**following the instructions** ](https://lara-script.gitbook.io/docs/admin-panel-functionality/administrator/administrators)create new users that you can assign to your colleagues and even edit their existing roles
In the standard set of roles, you will already have 4 template-configured roles:
* Administrator — full access, can manage roles and the IP whitelist.
* Operator — everything except managing admins and IPs.
* Financier — access to reports and analytics.
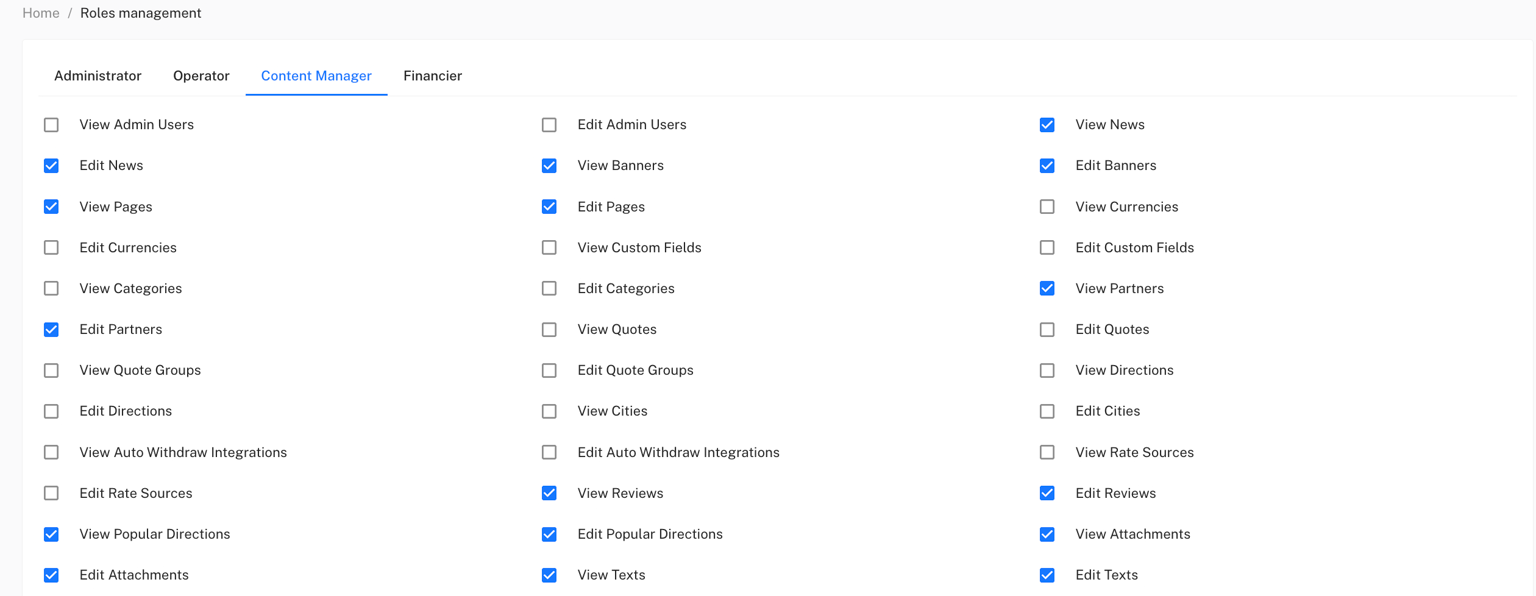
* Content Manager — manage news, pages, banners.
You can also review the full list of permissions or even configure them in the next section - Role Management.
You can learn more about configuring role management [**in this section of the documentation.**](https://lara-script.gitbook.io/docs/admin-panel-functionality/administrator/role-management)
**Important:**\
1\. Your first profile will have the role level **Administrator**, and by the starter template only a user with this role can edit other roles.\
2\. Before adding new users make sure they are assigned the correct role.
### **6. Operation Logs (user action log)**
The logs page allows administrators to track all actions performed in the system. Logs are used not only for diagnosing errors but also for **audit** (monitoring who performed which actions), as well as for analyzing administrators' activity. This helps detect suspicious actions, track attempts of unauthorized access or misuse of functionality. For each record a list of parameters is displayed that simplify tracking actions.
The log journal helps not only to see, **who** and **what did**, but also **how** it was done — through which API requests and with what data.\
To open the logs page, go to Administrator - Admin Panel Logs, and also [**review the documentation section.**](https://lara-script.gitbook.io/docs/admin-panel-functionality/administrator/logs)
### **7. Security settings in Cloudflare (CDN level)**
Since installing LARA-script requires using Cloudflare, it is recommended to configure additional security rules, a kind of second IP whitelist at the server logic level.
This creates **double protection**:
1. IP restriction on the Cloudflare side.
2. IP restriction in the admin panel itself.
Below we provide a detailed instruction for configuring security on the Cloudflare side.
### Configuring security at the Cloudflare level
1\. Log in to your Cloudflare account and select your domain
2. Go to the tab **Security** -> **Security rules**
3. First, you need to add the IP of your server where your site is hosted to the whitelist. Click the Create rule -> IP access rules button
If the required menu does not appear, you can reach the form another way:
* In the address bar of your browser the full path should look like this:
**\/\/security/security-rules**
* To open the form for adding an IP to the whitelist, append the following path to your domain:
**/security/security-rules/ip-access-rules/create**\
\
The final URL will look like this:
**\/\/security/security-rules/ip-access-rules/create**
4. In the opened window you will see a form to fill out your site's whitelist. Enter your server IP. Choose Action: **Allow**. We also recommend adding a comment to each rule (**Notes**). After filling in all fields click the **Create**button to save the changes.

5. After saving you will be redirected to the security menu where your rule should already appear
6. The next step is to restrict access to the Admin panel only through your VPN. For this you need to:
* Find out the IP address of your VPN.
* Make sure that this IP address is static (permanent), not dynamic.
For this you need to click the **Create rule** -> **Custom rules**
7. Enter the rule name, then in the first condition type it like this: Field -**Hostname** Operator -**equals** Value -\*\*Your admin panel domain\*\* Then click the \*\*AND\*\* button to add another condition
and enter the following values \*\*Field -**IP Source Address**Operator -**is not in**Value -\*\*Your VPN IP\*\*
and below select **Choose action** - **Block**, as in the example below
this rule allows access to your admin panel only from the IP you put in the **IP Source Address**field. Save this rule by clicking the **Deploy.**
### Server-level security settings.
1. Connecting to the server via SSH
* Open a terminal (macOS / Linux) or PuTTY (Windows).
* Run the command: ssh username\@SERVER\_IP, where username is the user on the server (usually root) SERVER\_IP is your server's IP
* Enter the password
1. Installing and basic configuration of UFW
Run the following commands below to install the firewall packages
**sudo apt update**
**sudo apt install ufw -y**
1. Configure access via UFW only for your VPN-IP
**IMPORTANT:** First allow SSH access from your VPN-IP,
and only after that deny all other connections on port 22.
Otherwise you will lose access to the server.
Enter the following commands on the server
* Allow SSH connection (port 22) only from your VPN-IP:**sudo ufw allow from VPN-IP to any port 22**where **VPN-IP**- is the IP of your VPN
* Deny all other requests to port 22: **sudo ufw deny 22**
* Reload UFW: **sudo ufw reload**
* Enable the rules: **sudo ufw enable**