# Hosting provider setup
**Choosing a provider**
For stable operation of the Lara exchanger you can choose any provider (DigitalOcean, Hetzner, Vultr).
We can recommend a provider *Hostinger*. It offers reliable servers with affordable plans, high speed and stability. Various VPS plans are available with sufficient CPU, RAM and disk space.
Official website: [https://www.hostinger.com](https://www.hostinger.com/)
**Below is a step-by-step guide to renting a server on Hostinger and first connecting to the server via the terminal in the browser -** this is a convenient option for self-installation of the script for a non-technical user.
**1.** Registering on the Hostinger website
On the main page [https://www.hostinger.com](https://www.hostinger.com/) there will be a button on the right **My Account**

To register, simply enter your email and come up with a strong password. Or sign in quickly via Google — no extra setup required.\
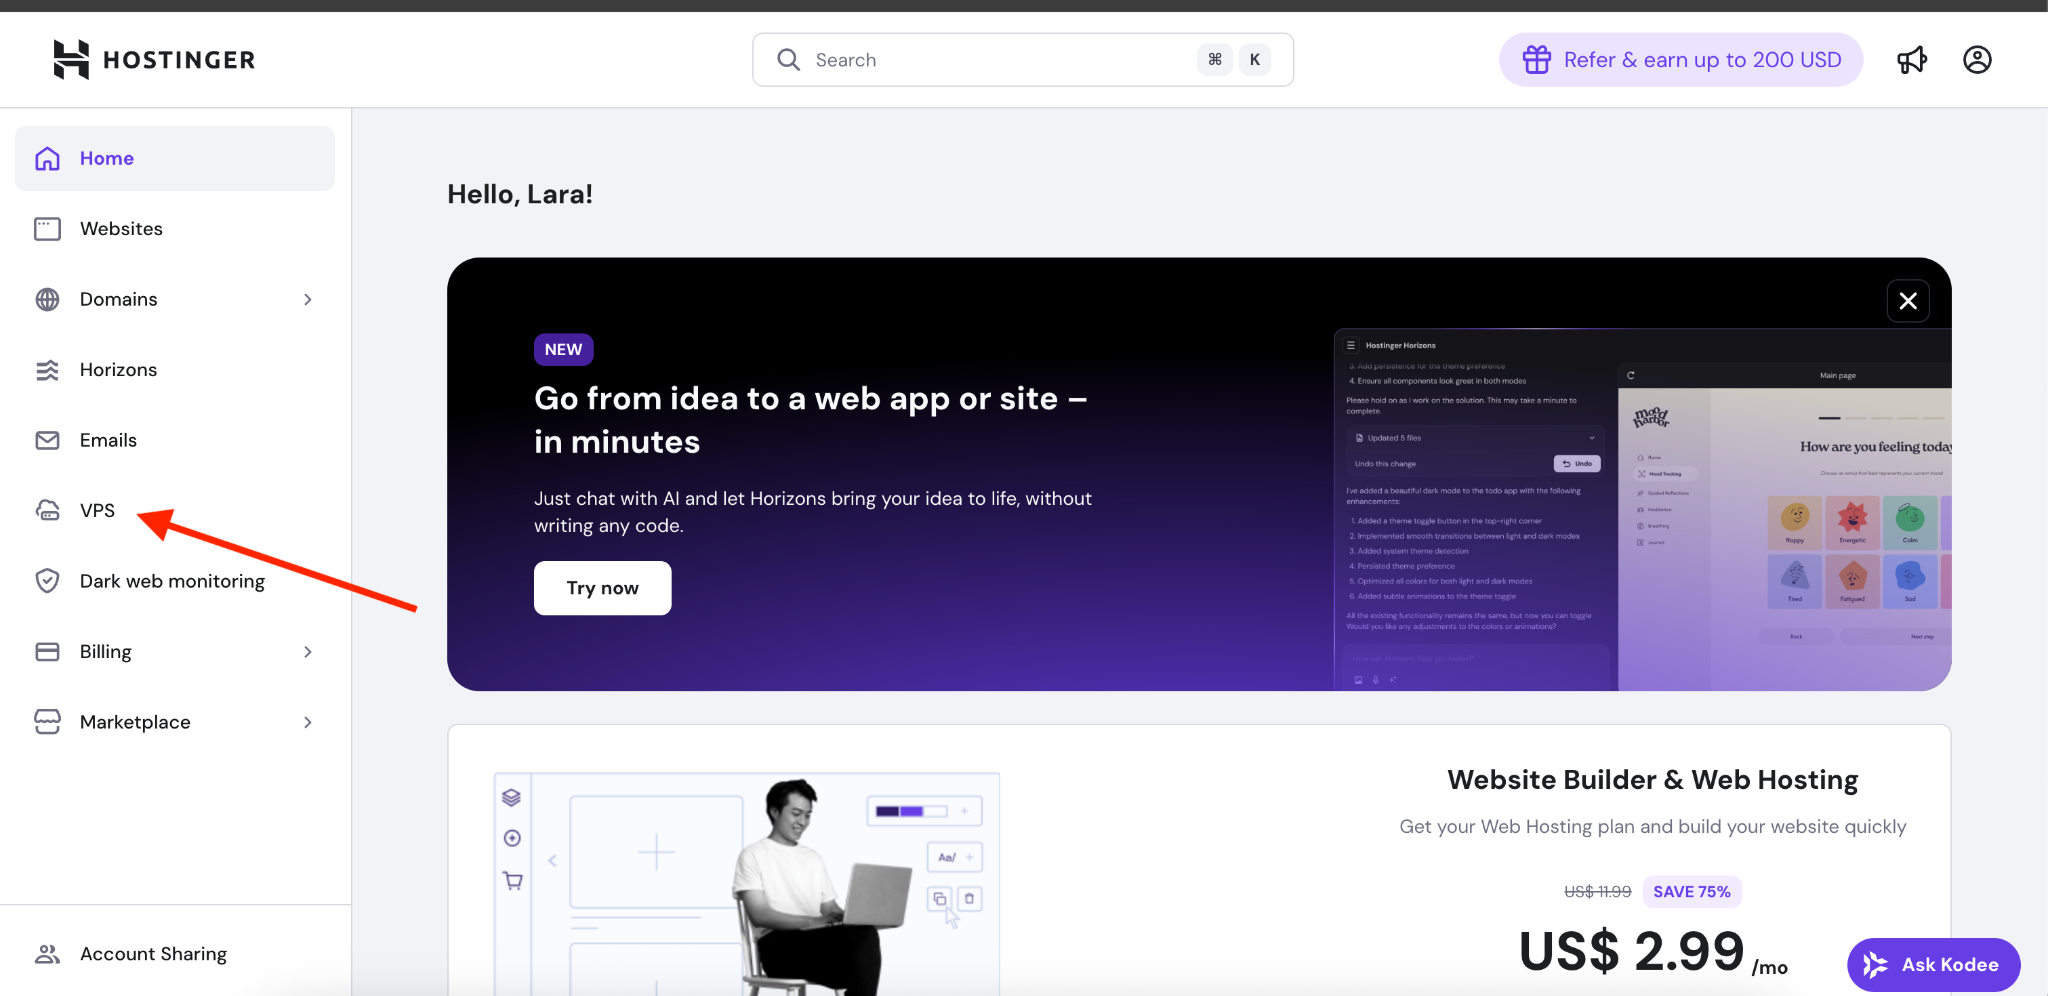
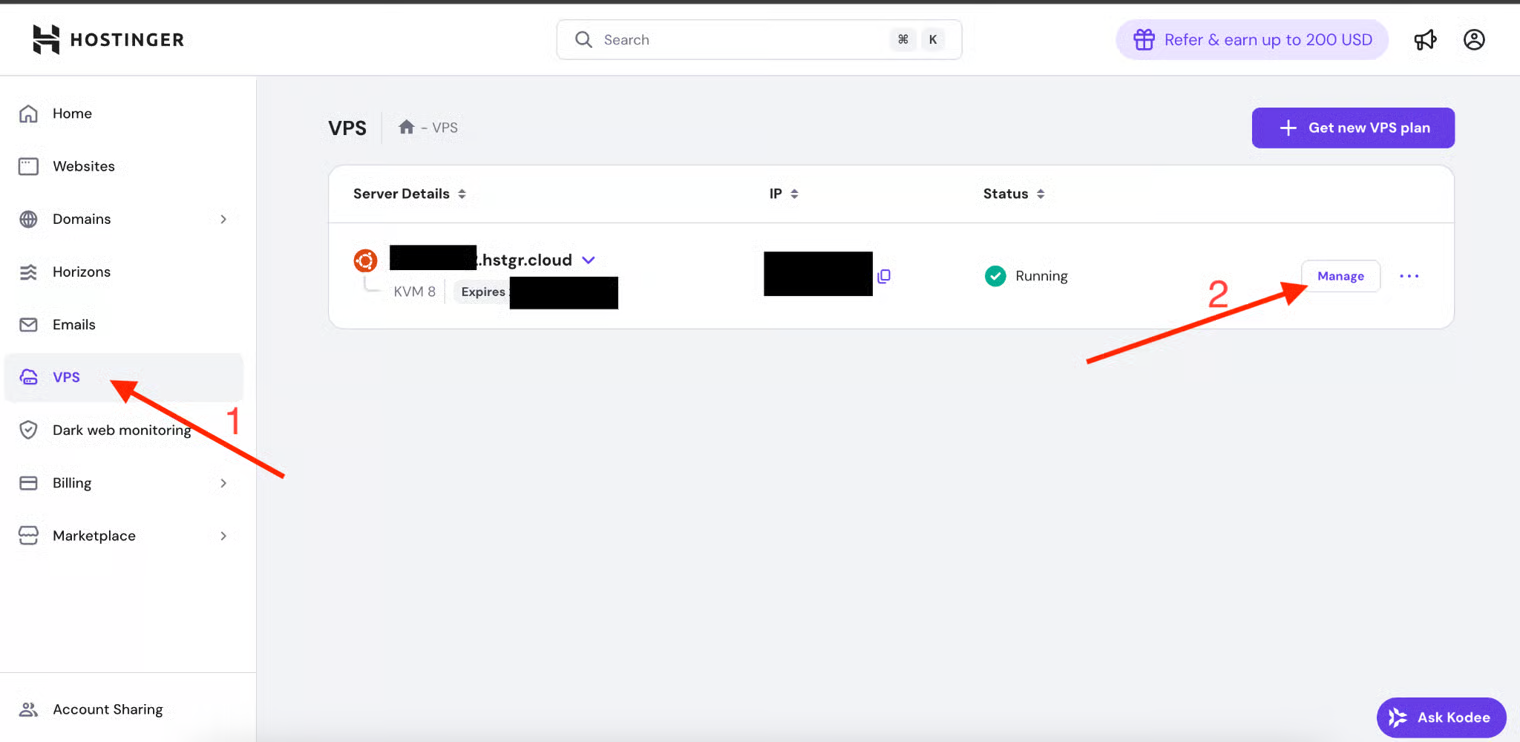
**2.** After successful registration you will be redirected to the main page of your account. Go to the **VPS** tab to choose a server.
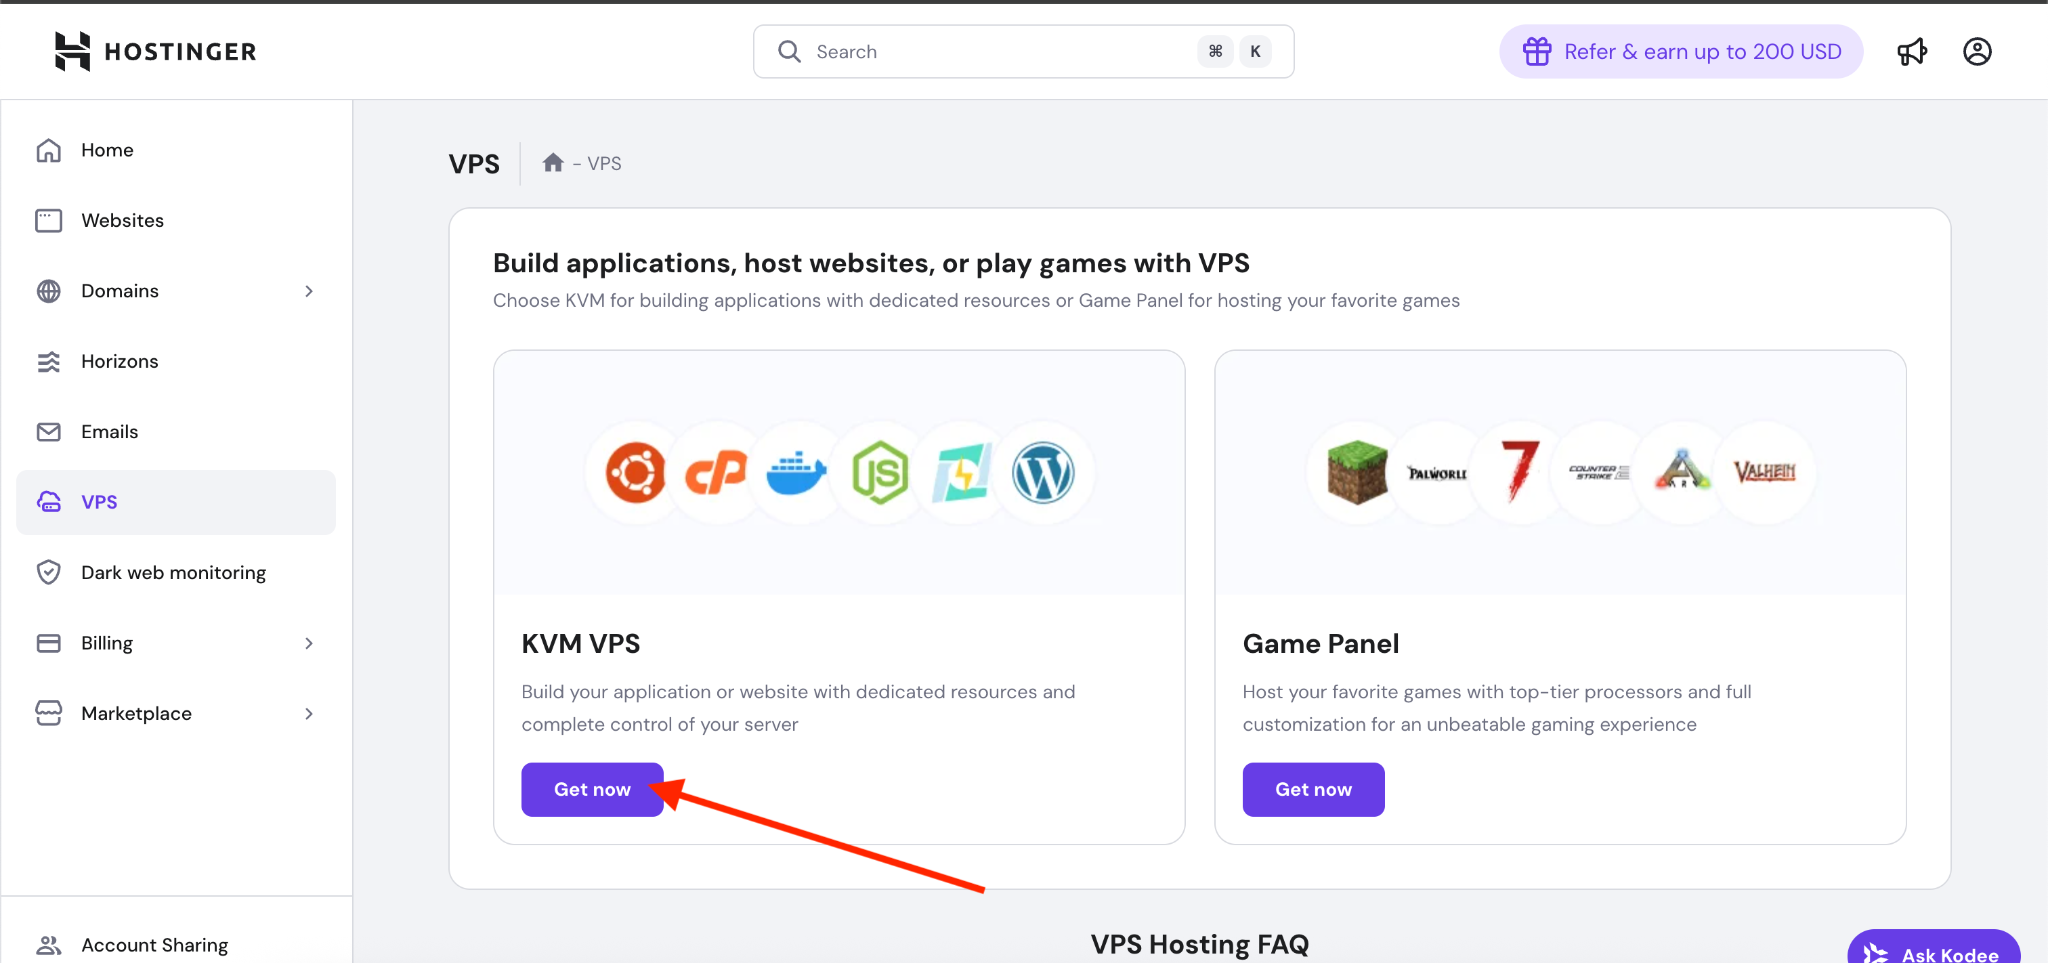
**3.** Choose a VPS with the **KVM** type, as shown in the screenshot below.
**4.** Next you need to choose the server region. Choose a server that is located closer to your customers — this will provide faster site loading and stable operation. If you work with different countries, it is optimal to take a server in central Europe.

**5.** The next step is to choose the operating system for your server. As we wrote in the recommendations, choose the Ubuntu operating system version Ubuntu 24.04 LTS.

After selecting the operating system click Select
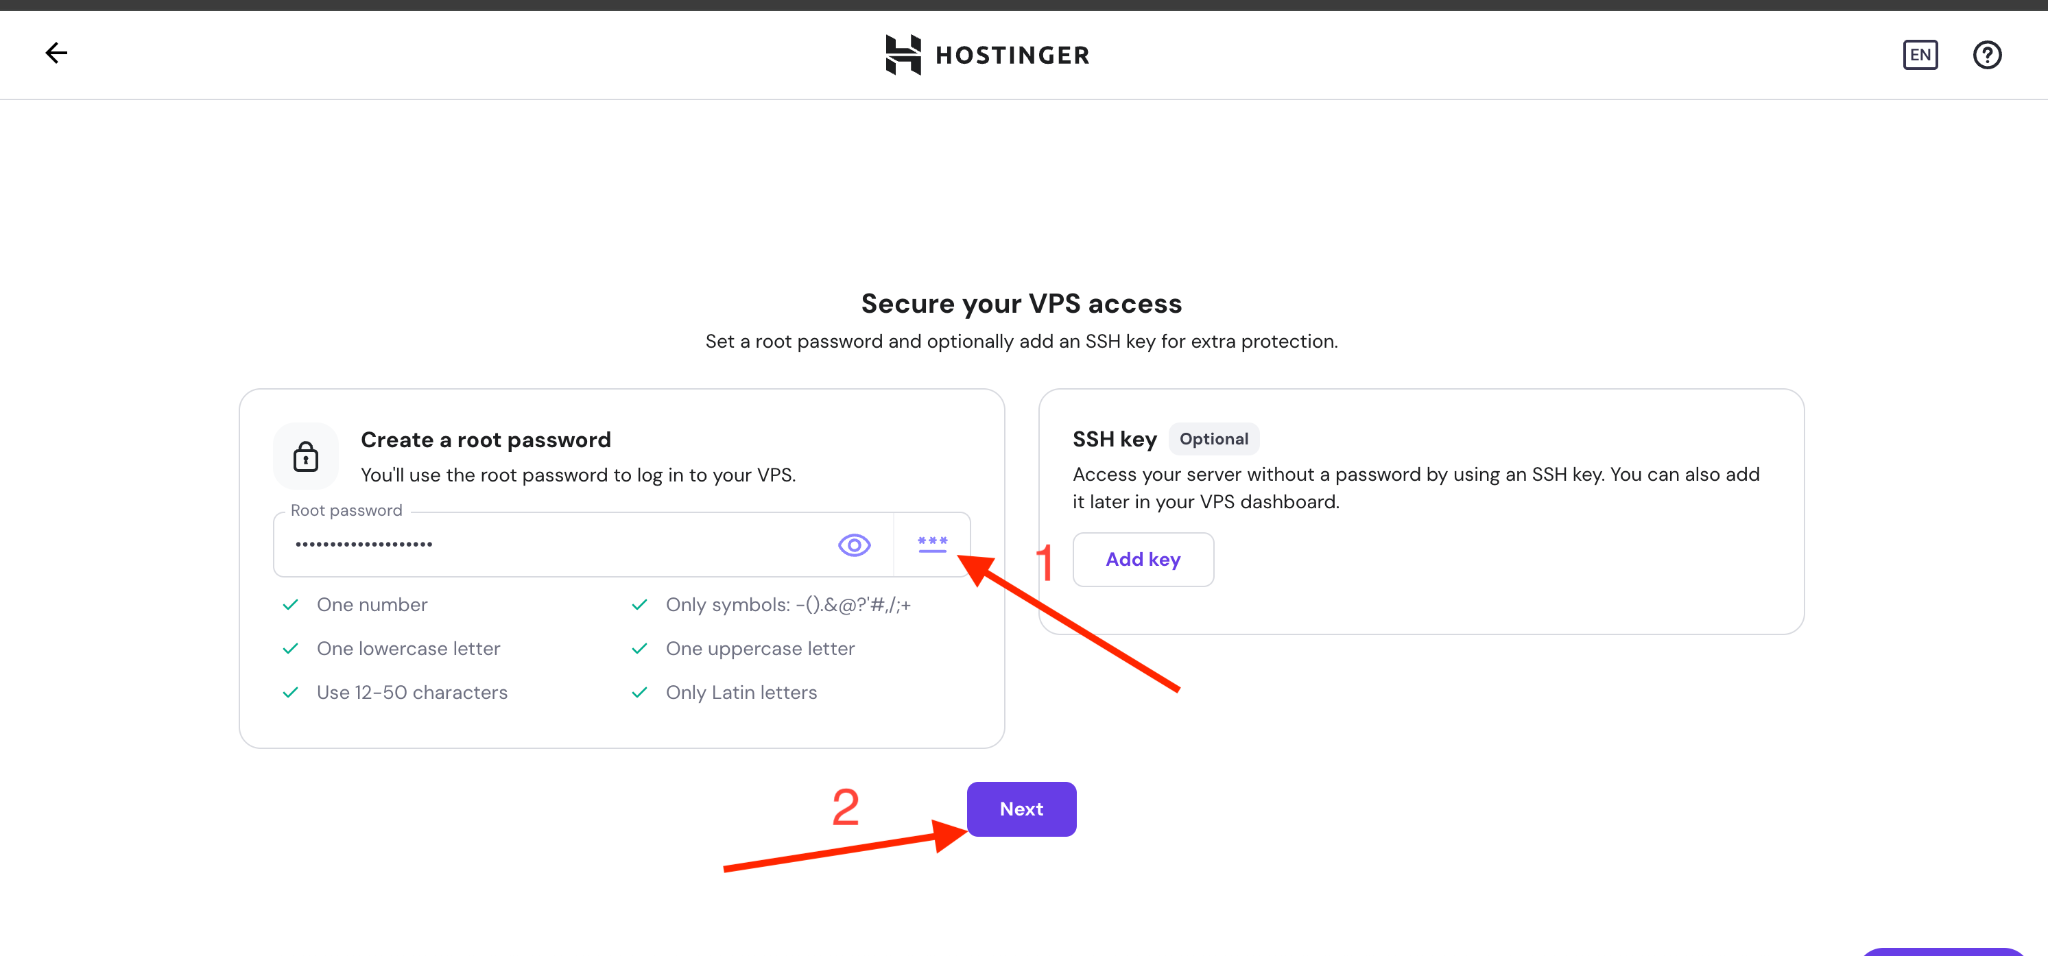
**6.** At this stage you need to set a password to log in to the server via **SSH** (secure connection).
* You can come up with your own **strong password** (use uppercase and lowercase letters, numbers and symbols).
* Or use **the provider's password auto-generation**.
**Be sure to write this password down in a secure place!**
After entering the password press the **Next**button to proceed to the next step of server setup.
**7.** At this step Hostinger automatically enables **Malware Scanner**. This is a free tool that additionally protects the server from malicious files and suspicious activity.
It is not required for our project to work, but since it is free — we recommend leaving it enabled.

**8.** Next you need to choose a server plan. We recommend choosing **the KVM 8 plan**, as it meets our requirements for stable operation of the LARA exchanger. You can pay for the plan for **1 month**, **12 months** or immediately for **24 months** — your choice. After clicking the **Choose payment method** button you will need to enter your payment card details for payment.

\
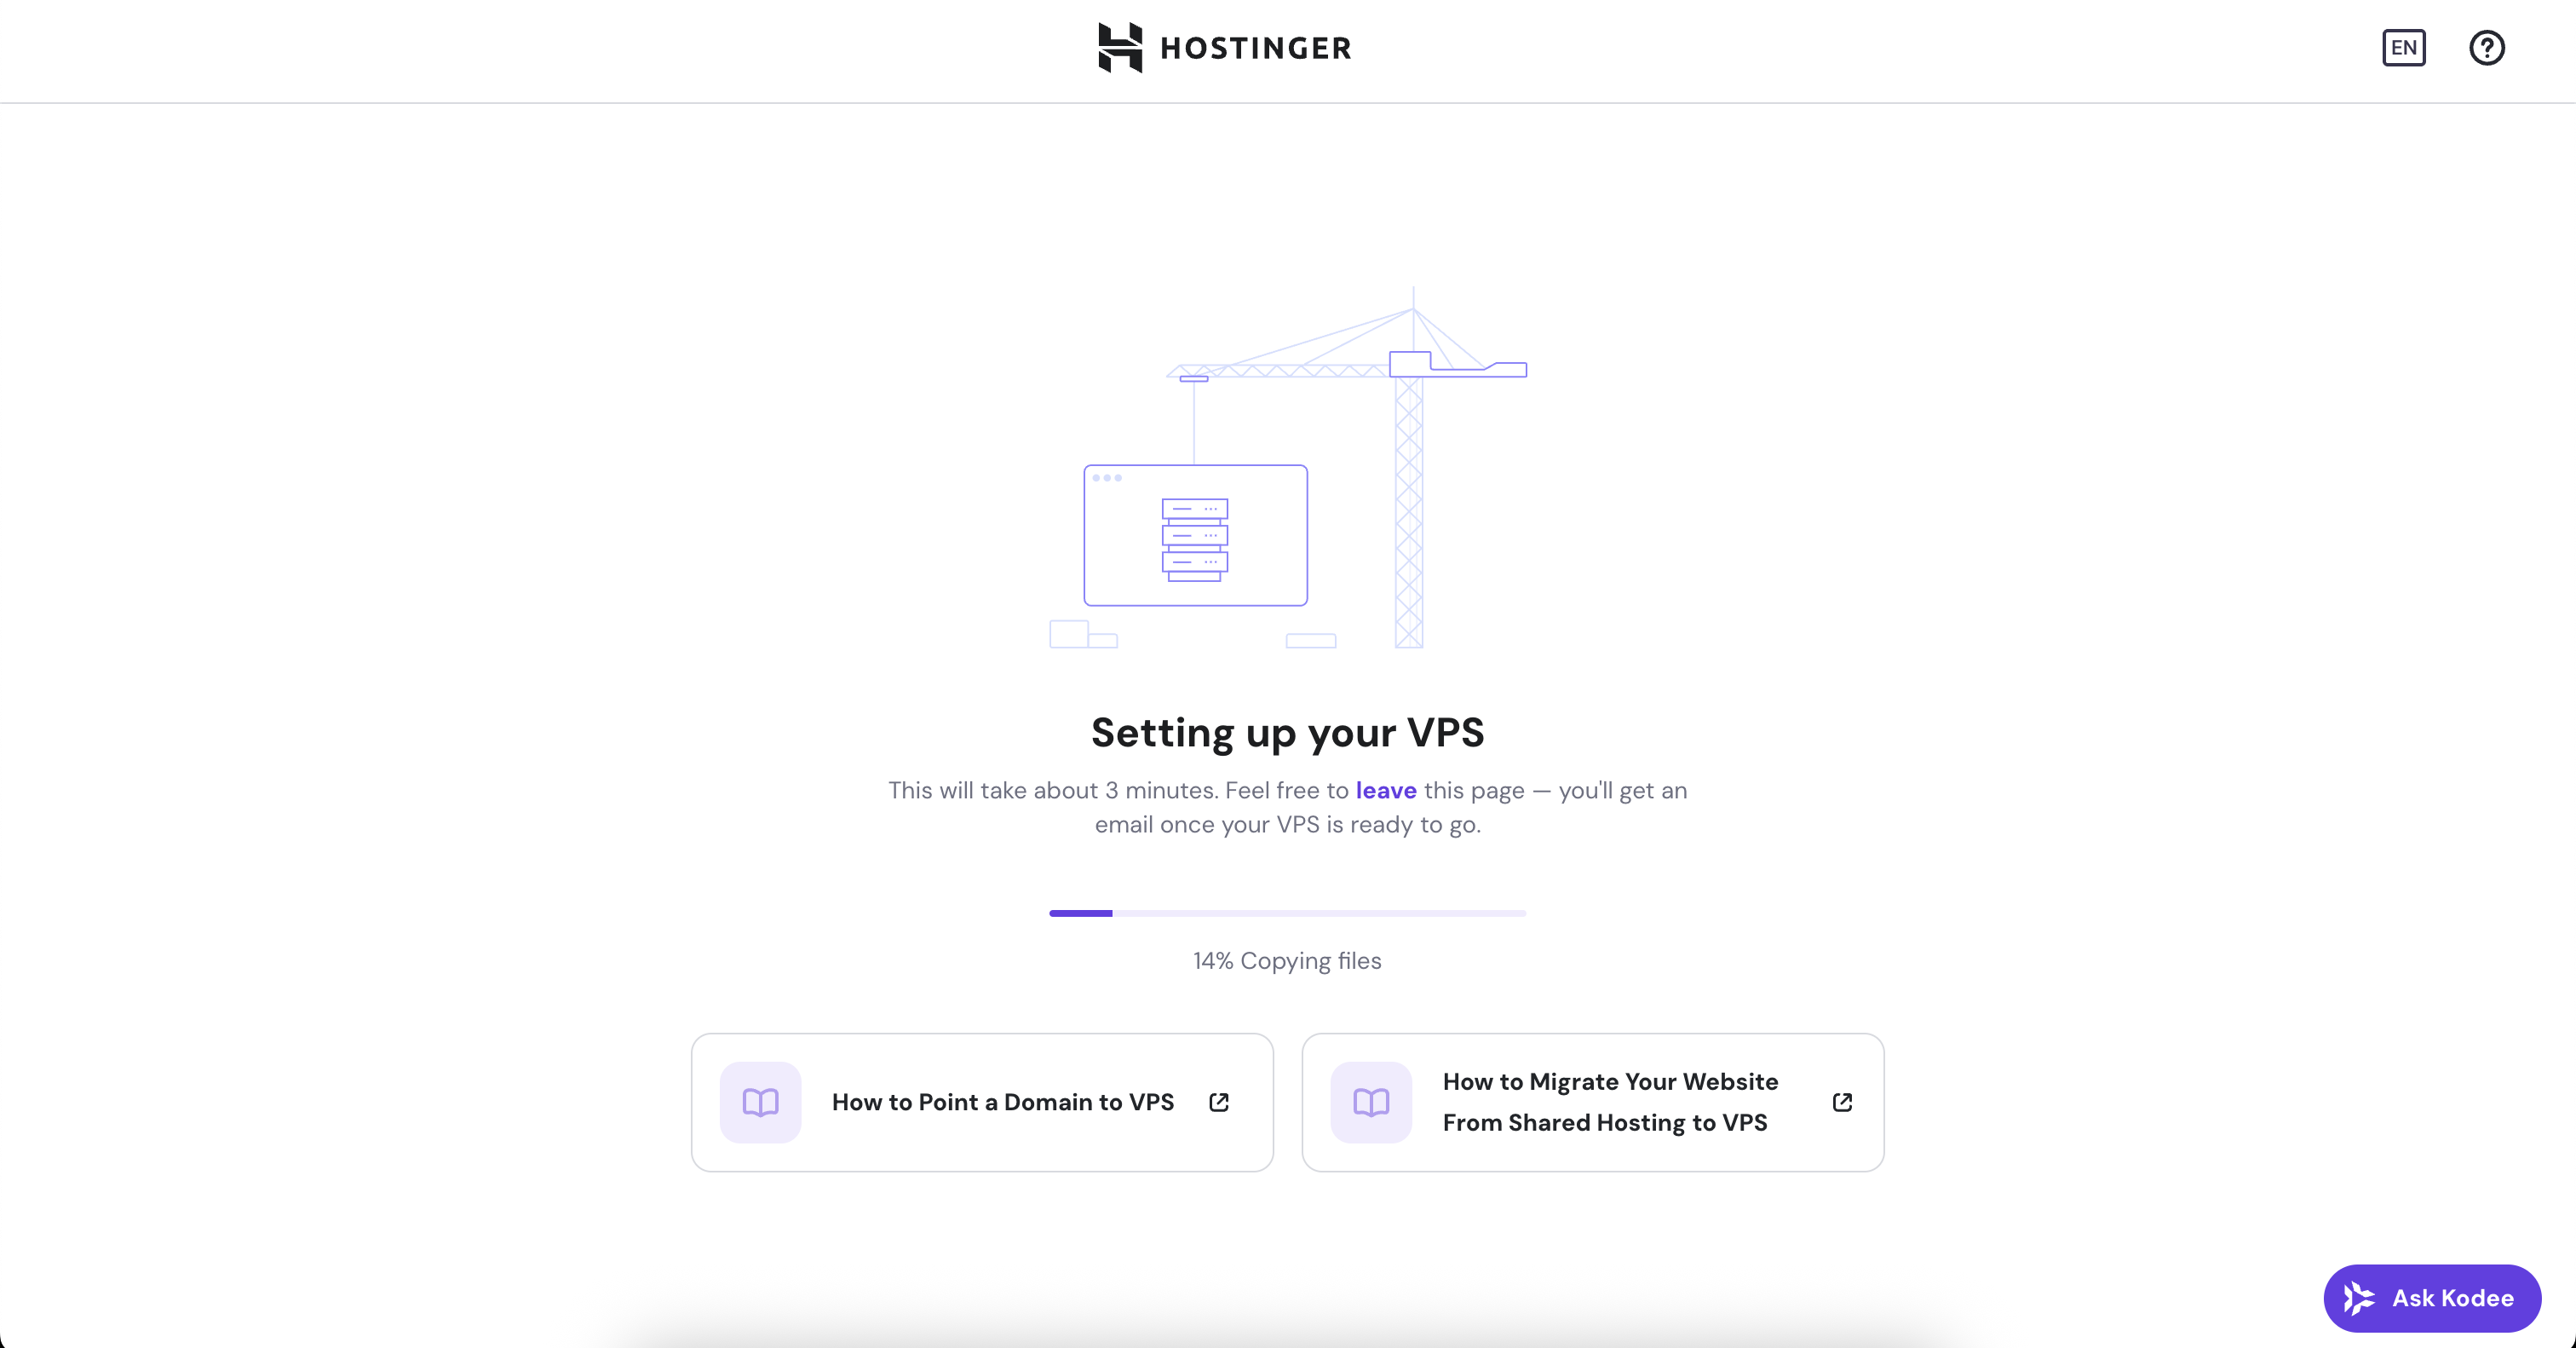
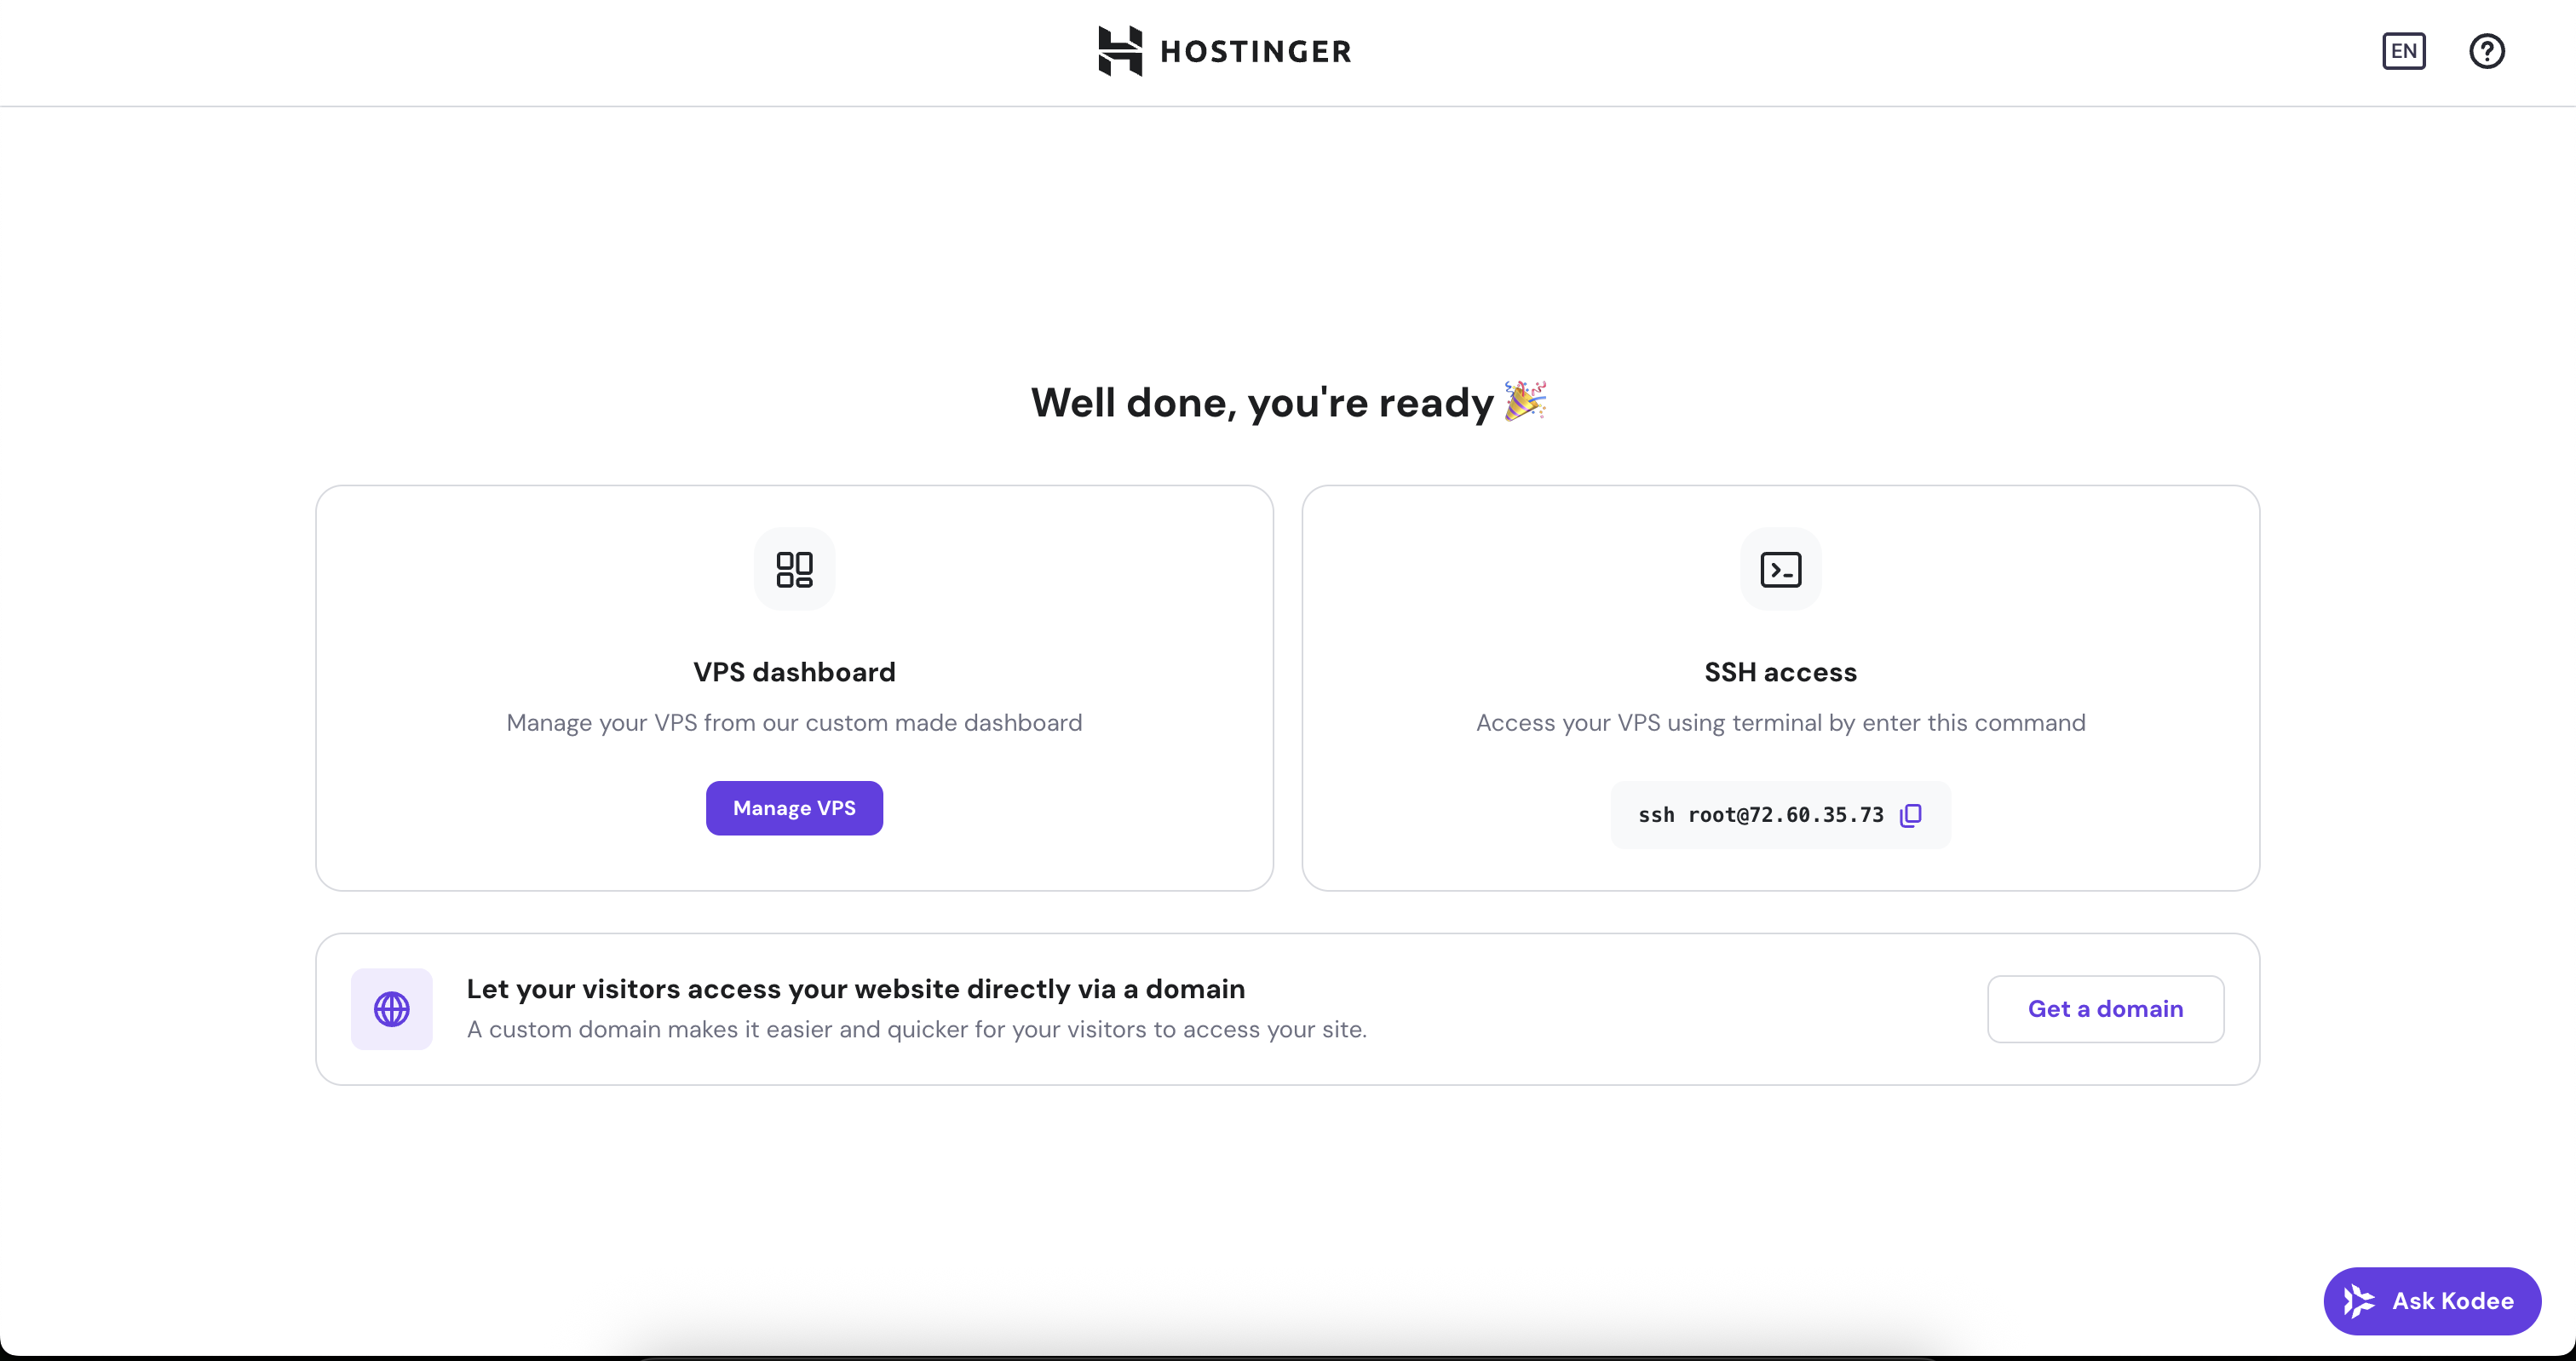
**9.** After payment Hostinger will **automatically prepare the server** with all your selected settings.
This process takes about 4–5 minutes.
During preparation a progress bar will appear in front of you showing the loading status as in the screenshot below.
When the server is ready:
9.1. Go to the **main page of your account (click Manage VPS)**
9.2. Open the **VPS** tab again - your server should already be displayed.
9.3. Click **Manage**to access server management.
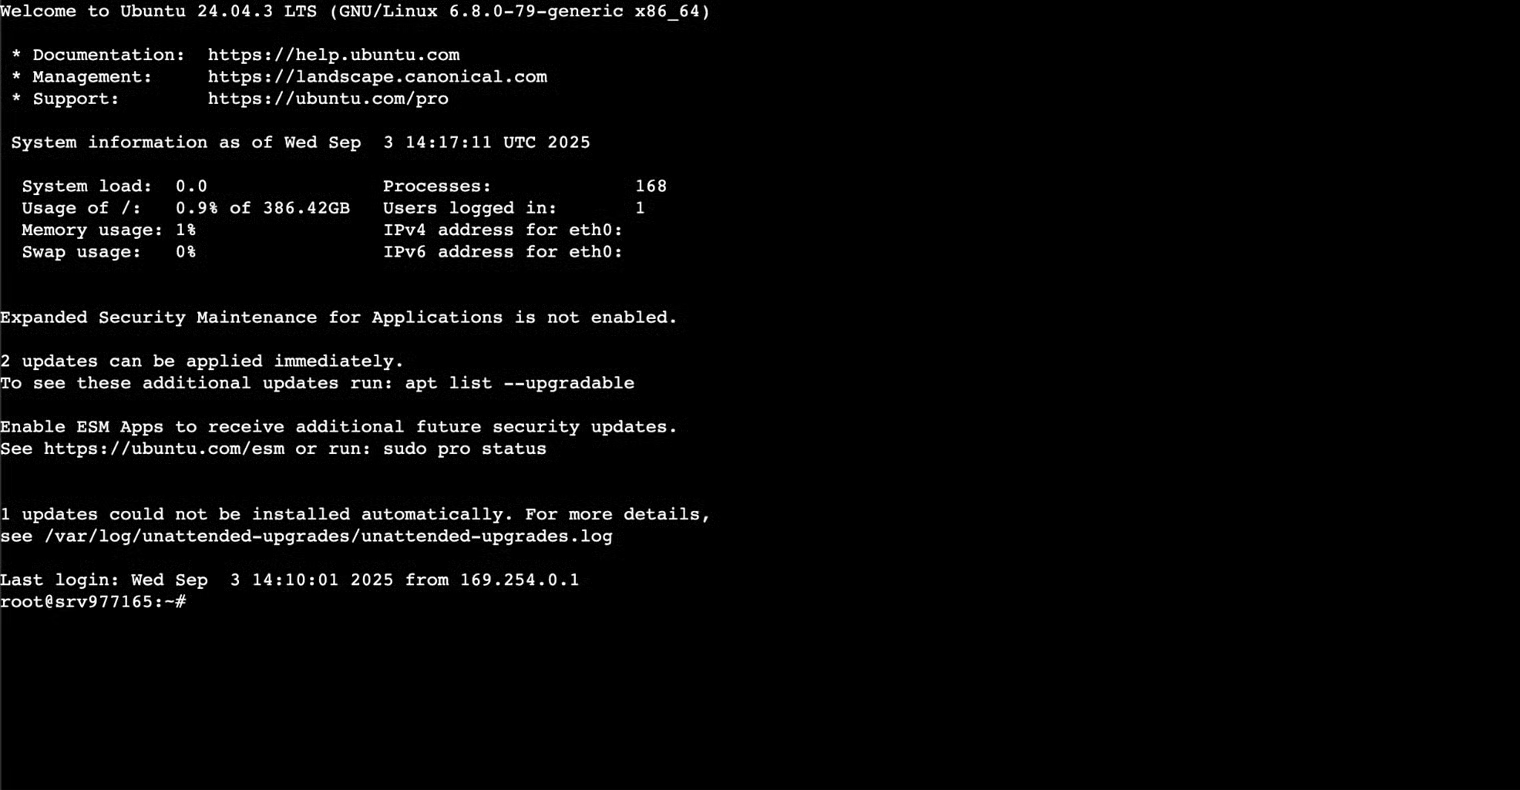
**10.** In the window with server information in your account, in the upper right corner you will see the **Browser terminal**.\
This is a built-in web terminal that allows you to connect to your server without installing additional programs. Just click this button — and a console with access to your VPS will open in a new tab.

**11.** Here you will be able to enter commands and perform all necessary actions on your server. In particular, you will be able to run the **Lara-installer (more on this later)**which will automatically deploy our Lara project on the server, install all dependencies and configure the environment for operation. For now, close this window, we will need it a little later.