# Google Tag Manager
**GTM is the "single control panel" for everything related to analytics and tracking on a website.** It speeds up the implementation of marketing tools, reduces the workload on developers, and allows rapid response to changes in advertising campaigns.
#### 🧭 How to get Google Tag Manager (GTM ID)
**🔹 1. Sign in to Google Tag Manager**
Go to the site: Sign in with your Google account.
**🔹 2. Create an account**
If you don't have a Tag Manager account yet:
1. Click the button **"Create Account" (Create Account)**.
2. In the **Account Name** enter the name of the site or project.
3. In the **Country** select the country.
4. Check the box **"Share data anonymously with Google and others"**, if you want (not required).
**🔹 3. Create a container (Container)**
1. In the **Container name** enter the name of the site or application (for example: `mywebsite.com`).
2. In the **Target platform** choose **Web**, this is the environment where you will use the container:
3. Click **Create**.
**🔹 4. Accept the terms of use**
Read the Google Tag Manager terms and click **Yes** (Agree).
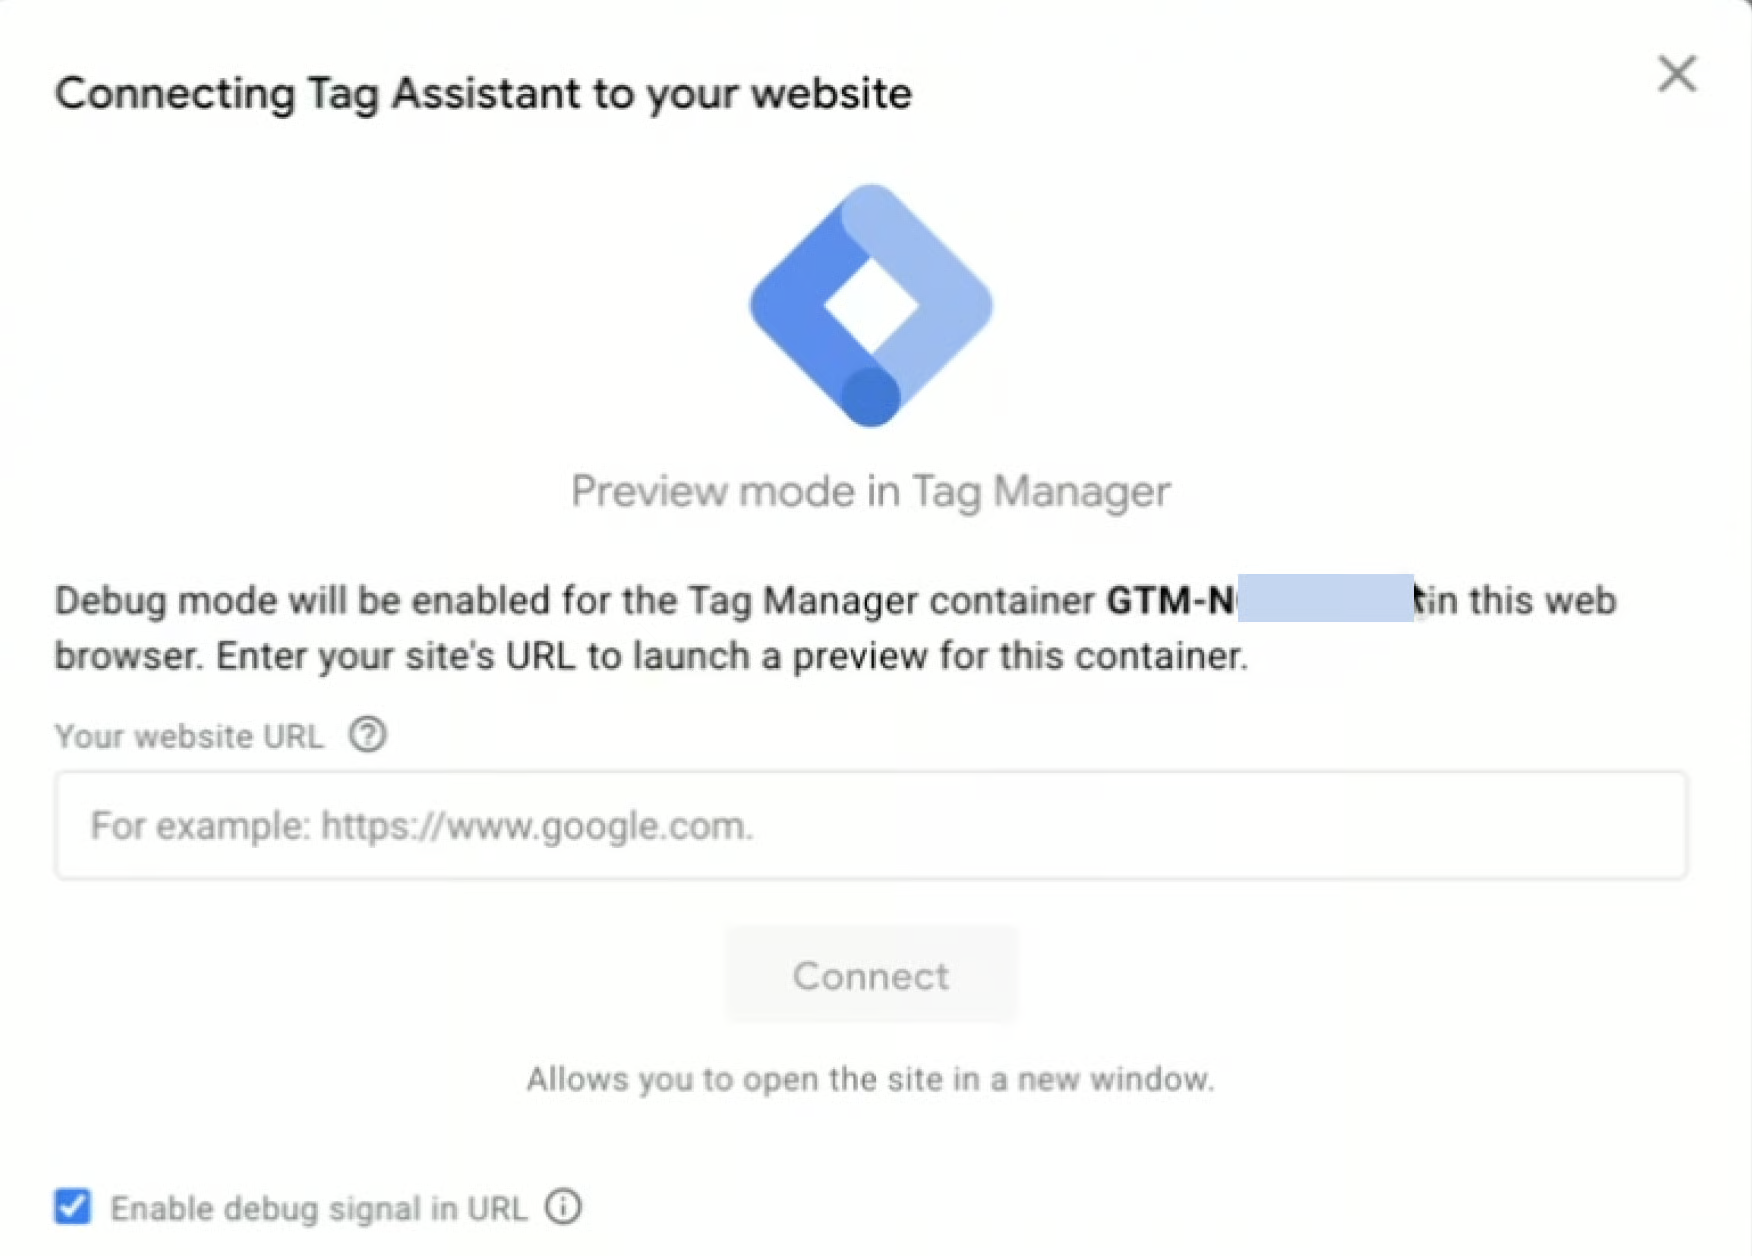
**🔹 5. Get the container code**
After creating the container, a popup with the installation code will appear.\
Your **Container ID (GTM ID)** will look like this:
```
GTM-XXXXXXX
```
You can see it:
* at the top of the Tag Manager dashboard;
* or in the container settings: **Admin → Container Settings → Container ID**.
**🔹 6. Install the code on the site**
For GTM to start working:
1. Copy the code from the popup.
2. Paste it into the site's admin panel; this is done through Settings - Google Settings - Google Tag Manager manually.
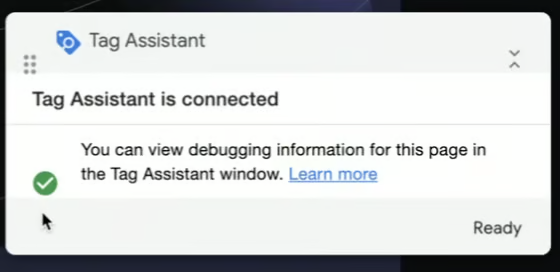
3. Save the changes in the admin panel, and after that click Connect in Tag Manager.
4. If the connection is successful, you will receive a notification like this